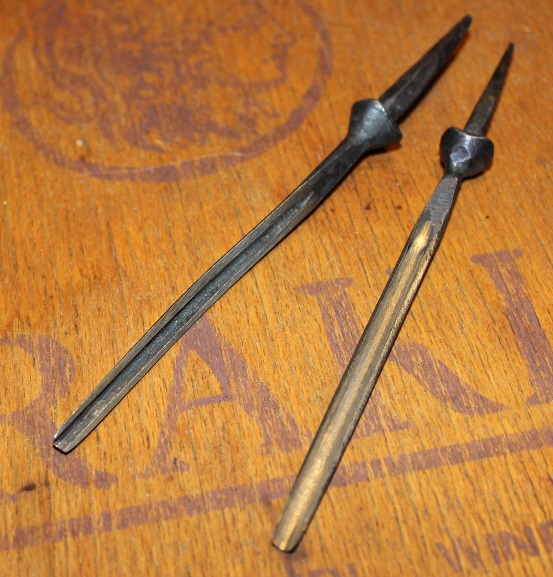
Last summer I visited the Metropolitan Museum of Art in New York. Passing through one of the rooms that had nothing medieval in it, I paused to snap a quick shot of an early 18th century staircase balustrade which I found fascinating. Since my purpose was searching for medieval things, I did not spend much time looking at it, but later, on going through my photos I was especially attracted to the finials on the newel posts. One evening, over wine and cheese, my clients and I were looking through these pictures together and they were also impressed with the finial. They asked me to create a set suitable for their staircase.
 |
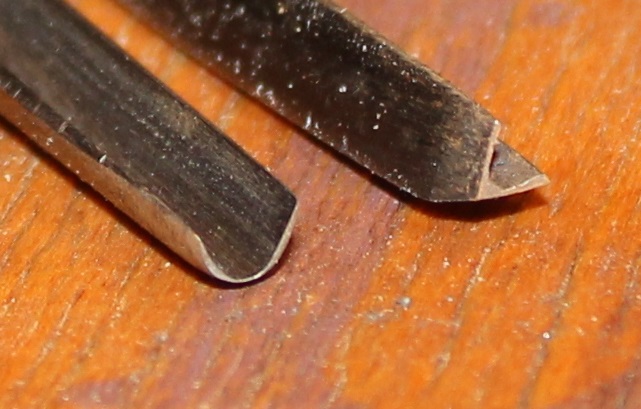
Zooming in on the original (horrible) photo I took of the
balustrade |
 |
| The MET had a much better picture on their website |
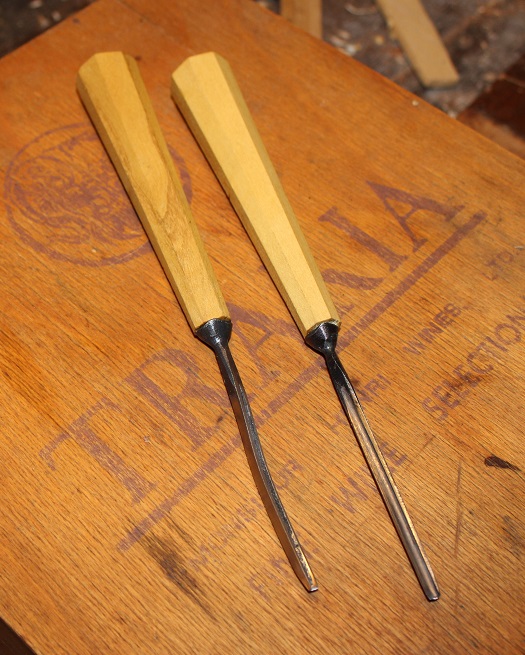
Because the size of the original finials are slightly more than twice the size of mine, it was necessary to make some adjustments to the design. One example is that the original has raised dots on the segments of the 'head' but they would have been very difficult to make on the scale I was working with so I opted to make indentations instead. They are carved with the gouge and then punched.
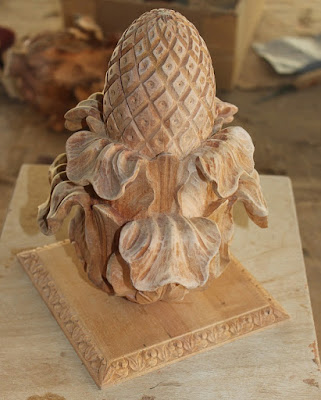 |
A ompleted finial and another, sans base, in the background;
These are less than half the size of the originals |
I still have not gotten around to gold leafing my
9th century candlestick that I made almost two years ago. It was supposed to have been a practice piece for doing some gold leafing before jumping into my client's project. Sometimes life does not like to follow our plans, and I have gone through several hundred leaves of gold doing things for the client already. Until now, however, all of the leafing that I have done has involved the process of painting on a ground, using a water based latex mastic and then applying the leaf. This method is much faster than traditional "water gilding" but the results are less spectacular.
True gilding involves applying a gesso ground which is made from gypsum and hide glue. To get a good base, several coats must be used, and sanding and scraping must be done between each coat to remove blemishes whilst maintaining the details of the carving. Once the gesso is finished, a further two or three layers of "red bole" (yellow is also sometimes used, but I like the red) is applied. This is basically the same as the gesso, but red brick dust is traditionally used. The purpose is to give a tough smooth surface which can withstand the pressure used in burnishing the gold. The animal glue in the bole becomes tacky with the application of a little water, (hence the term, "water gilding) allowing the leaf to adhere to the object being gilded.
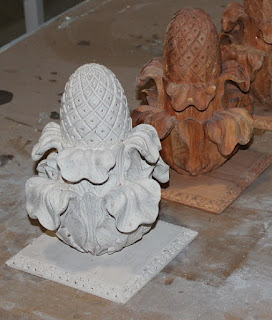 |
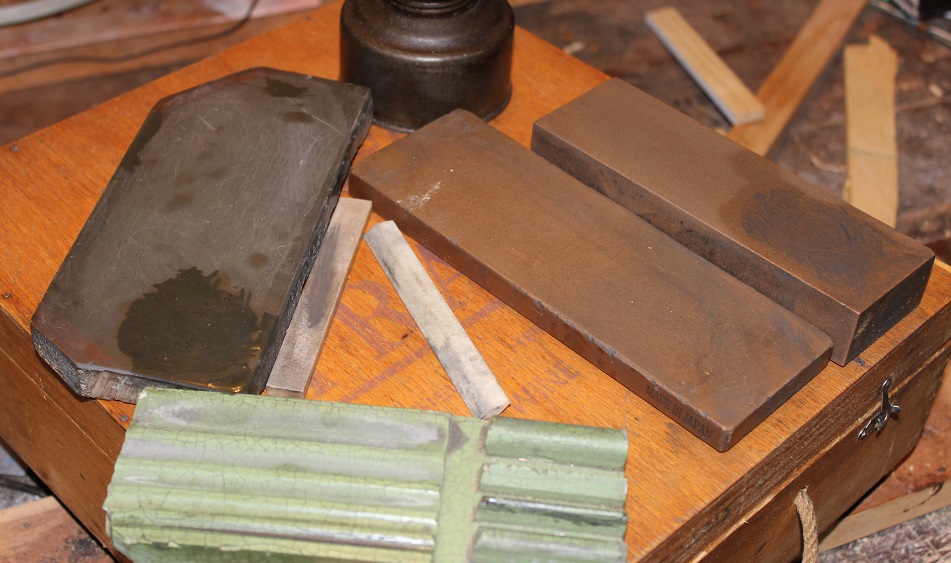
One finial with a layer of gesso and two with sizing; ready for the
first coat of gesso |
I am sure I did not invent this method, and most probably many other people have used it, but as a way of eliminating a couple steps in the above mentioned process, I thought of another way that might give the same results. I used a mixture which in medieval times was referred to as "glaire". This is a mixture of size (very thin animal glue) and egg white. This can be brushed on like latex mastic and, so long as it stays wet, will work the same. One difference, though, is that you cannot disturb the gold until the glaire has dried, but once dry, the gold can be burnished to a bright lustre.
 |
| Partially gilded finial |
 |
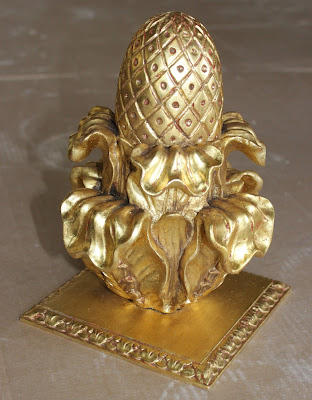
| Completely gilded. |
My intent was to gild some areas to be burnished brightly, and then do the rest with the faster latex mastic. This would give "highlights" to the gold and create more variation in the colour.
 |
For the second one, I decided to burnish the base as well;
the results are spectacular
(I wound up doing two with each method) |
 |
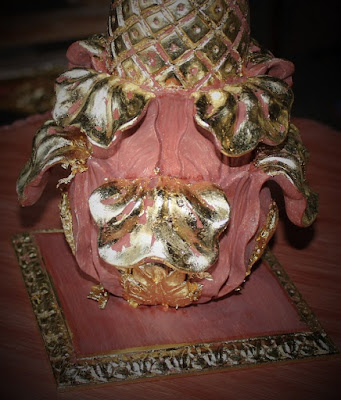
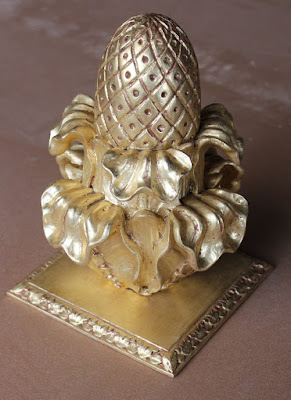
Once the gilding is done, I add a bit of transparent dye
to give the gold a bit more 'gold' colour
it actually looks pale and dead to me without the glaze |
Another thing I like to do is add a bit of burnt umber glazing to give more definition to the colour and add some more character to the piece. My clients and I have very similar tastes in gilded objects, so this if fairly easy for me. They are delighted with the results.
 |
| A finished finial |